Entry microphones that hold up for radio-style work are overwhelmingly dynamic cardioid designs in the $70–150 range, a pattern so consistent across community stations, podcast studios, and home setups that it amounts to an industry consensus. The reasons are physical and documented: dynamic capsules tolerate untreated rooms, cardioid patterns reject off-axis sound, and the broadcast voice sound listeners recognize was largely built on exactly this class of microphone. The honest beginner analysis is not «which model» but «which measurable traits» — because at entry level, the room and the technique matter more than the capsule.
AA Digital Sound publishes information, not purchasing advice. This piece covers the documented engineering behind the beginner mic class and the radio practices that make any of them sound professional.
Why dynamic microphones dominate entry radio work?
A dynamic microphone generates signal with a diaphragm and coil moving in a magnetic field — no internal amplifier, no phantom power, and modest sensitivity. That last trait is the secret. A sensitive condenser microphone hears everything: the refrigerator two rooms away, the echo of bare walls, the fan in the laptop. A dynamic capsule, less sensitive by design, demands that you speak close and yields, as a documented consequence, a drier, more intimate voice sound while hearing less of the room. Broadcast studios treat their acoustics and use condensers; beginners work in bedrooms, and the dynamic's physics compensates.
What does «cardioid» do for you?
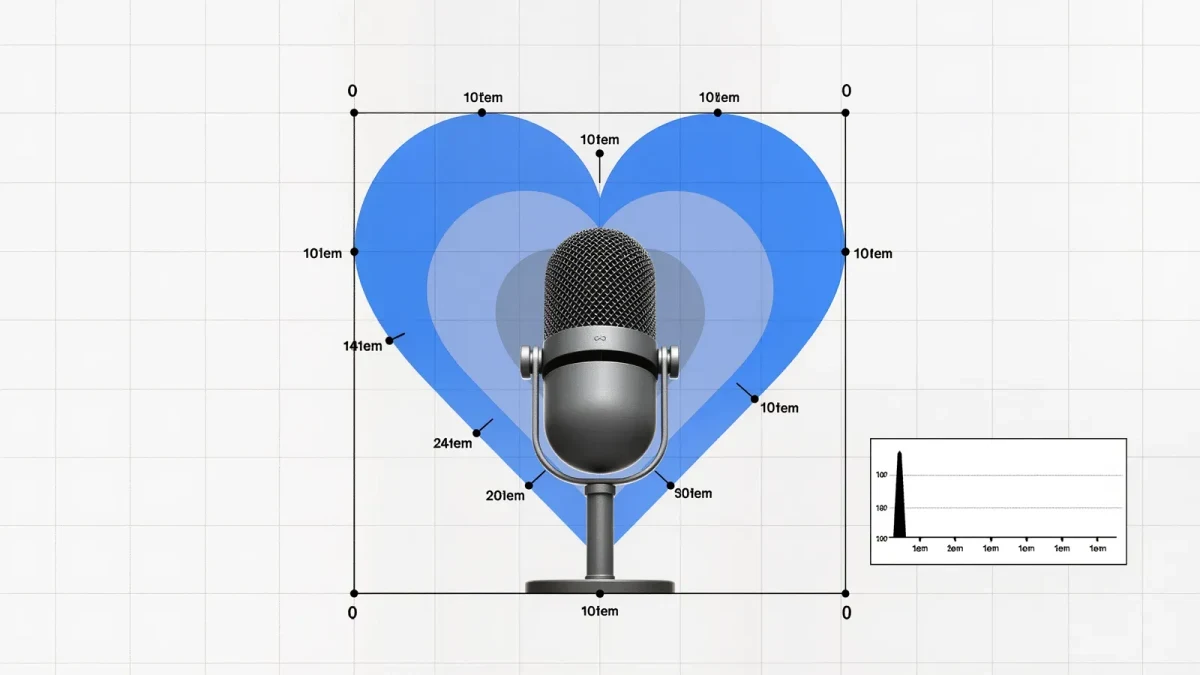
It names the microphone's pickup pattern: most sensitive in front, rejecting sound from behind — a heart-shaped sensitivity map, hence the name. The practical effects are documented and immediate: the computer fan behind the mic drops; two people facing each other across a pair of cardioid mics each stay on their own track; and the pattern imposes the discipline of staying on-axis, because drifting off the side of the pattern audibly dulls the voice. Other patterns exist — omnidirectional for room sound and lavalier work, figure-8 for two-way interviews — but the cardioid dynamic remains the beginner default because it forgives the most common environment.
Which specifications matter on a spec sheet?
Three, plus one interface consideration.
- Self-noise. Rarely a problem for dynamics (they are quiet by nature); the figure matters for condensers, where lower is better for quiet rooms.
- Frequency response. A presence bump in the 4–6 kHz region — documented in many broadcast-voiced designs — adds intelligibility without processing. A flat response is honest but plain.
- Connectivity. XLR microphones need an audio interface; USB microphones carry their own converter. Both paths can sound professional; XLR builds a system, USB starts a habit.
- The interface's preamps. With dynamic mics, quiet gain stages matter — a microphone needing lots of gain exposes a cheap preamp's hiss. Interfaces with ample clean gain pair well with low-sensitivity dynamics.
What actually makes the radio sound?
Technique, then room, then microphone — in that documented order. Close speaking (a hand's width, slightly off-axis to dodge plosives) gives the proximity effect bass that defines broadcast intimacy; a cardioid dynamic's bass rise up close is a measurable, exploitable trait. Consistent position beat any equipment upgrade, because level and tone change with every inch of drift. The room comes second: soft furnishings, a closet of clothes, or a folded duvet behind the microphone kill the reflections that scream «bedroom» far louder than any capsule choice. Third, a pop filter and a shock mount — cheap, and they remove the two most common beginner artifacts.
What about recording away from the desk?
Portable setups follow the same physics in smaller packages. Reporters' field practice, documented across decades of radio, favors handheld dynamic microphones held close — the interviewee's mouth a hand-span away — because distance is the enemy in uncontrolled spaces. The windscreen, the quietest room available, and keeping the microphone away from hard reflective surfaces do more than any portable recorder upgrade. Multi-person remote recording raises a different documented problem — internet drift — which is why producers record each participant locally on their own device and sync later, a workflow now standard across podcast production.
How much processing is normal?
More than beginners expect, and less than they fear. The radio voice chain is documented practice: a high-pass filter rolling off rumble below the voice, gentle compression evening levels, and normalization to a loudness target — the same LUFS loudness standard (EBU R128, used widely in broadcasting) that streaming applies. Free and inexpensive software performs all three. The lesson from professional practice is that the polished «studio» sound is largely post-production applied to a clean, close-miked dry recording — not an expensive microphone.
What is the realistic upgrade path?
The documented sequence working producers recommend: master close-mic technique and room treatment first (free to cheap), add a proper boom arm so position stays consistent, invest in good closed-back headphones for monitoring — the real quality-control tool — and only then change the microphone. An entry dynamic in a treated corner with disciplined technique will pass for broadcast; an expensive condenser in an echoey room will not. The class of microphone matters less than the physics around it, which is the most honest review any beginner can get.